Exterior detailing products are essential because they protect your car long-term damage caused by sun, rain, road salt, and other environmental factors. The right products help prevent rust, oxidation, and fading, keeping your vehicle looking great and protecting its resale value.
Using cheap or incorrect products can lead to scratches, dull spots, and other surface damage. Investing in quality exterior detailing products not only makes your car shine but also preserves its appearance and integrity over time.
In this guide, we will break down everything you need, from glass cleaners and tire care to paint protection and engine degreasers, so you can build a complete detailing routine with products that actually work.
The Basics: Essential Tools for Exterior Detailing
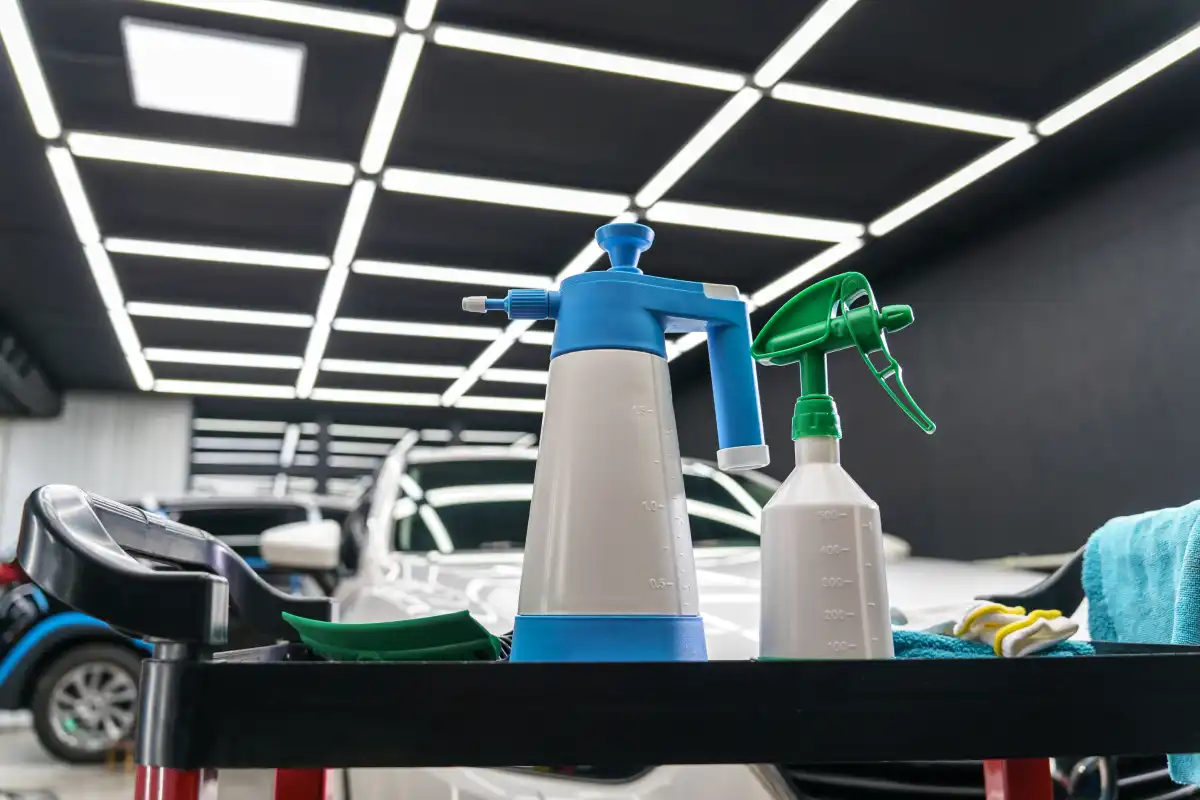
Before you grab any soap or polish, it is worth setting up your toolkit. The right tools and exterior detailing products do not just make the job easier; they make it safer. Using poor-quality towels or harsh brushes can cause micro-scratches that undo your hard work.
Must-Have Tools for a Proper Detail
Start with high-quality microfiber towels. Waffle-weave towels are perfect for drying, while plush edgeless ones work best for buffing wax or sealant. You will also want a few applicator pads for tire dressing and wax application, along with soft detailing brushes for emblems, vents, and wheels.
A foam cannon or foam gun is a great investment if you wash regularly. It lays down thick soap that lubricates the surface and minimizes swirl marks. Pair it with a two-bucket wash system (one for soapy water and one for rinsing) to keep dirt from re-entering your wash mitt.
Setting Up Your Wash Area
Always wash in the shade if possible. Direct sunlight can cause water spots and make soaps dry too quickly. Keep your products organized in a caddy or detailing bag, and have a few extra microfiber towels nearby for quick wipe-downs or drying tight spots.
Best Car Wash Soaps and Shampoos
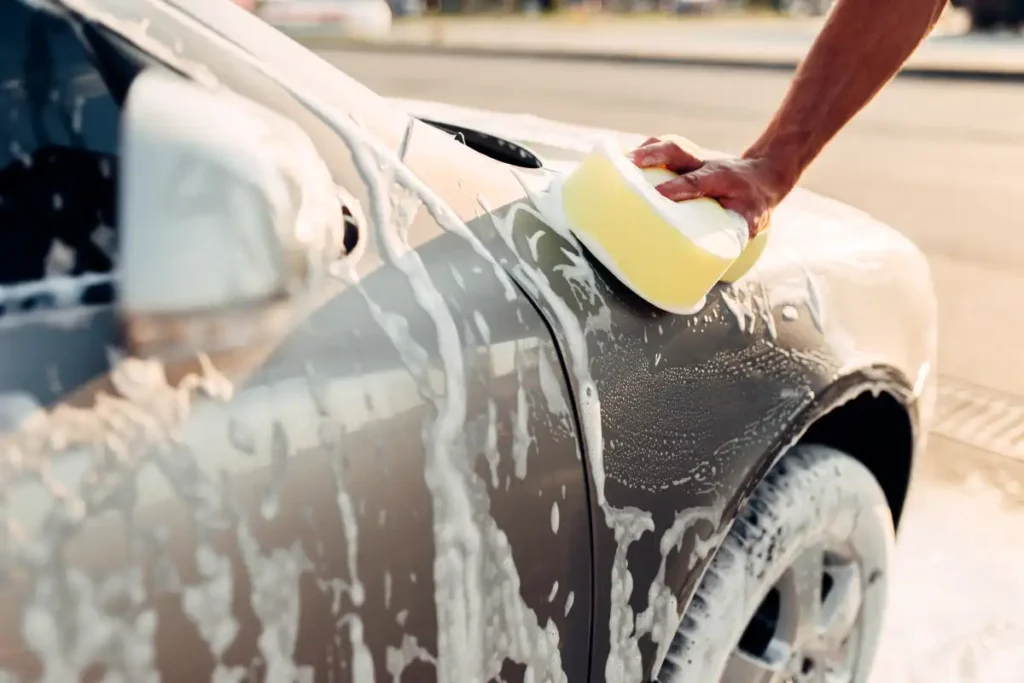
Every great detail starts with the right exterior detailing products, especially when it comes to choosing a proper wash soap. The right car wash soap does more than remove dirt; it protects your paint and sets the foundation for every product that follows. A good shampoo will clean effectively without stripping wax, sealant, or ceramic coatings.
Why You Should Skip Dish Soap
Dish soap might sound convenient, but it is far too harsh for automotive finishes. It strips away protective coatings and can dry out rubber seals and plastic trim. Always choose a soap that is pH-balanced and designed for automotive paint. These formulas clean thoroughly while preserving your wax or sealant layer.
Understanding pH-Balanced vs. Stripping Washes
pH-balanced soaps are gentle and safe for regular use. They maintain protection layers and leave behind a slick, glossy surface. Use them for routine maintenance washes.
Stripping washes or pre-wash shampoos are stronger formulas meant for deep cleaning or prep before applying a new layer of wax or ceramic coating. Use them occasionally when you need to start fresh.
Top Picks for Every Budget
For most drivers, Meguiar’s Gold Class Car Wash offers excellent lubricity, strong cleaning power, and a deep shine. Chemical Guys Mr. Pink is another fan favorite for its high foaming action and safe formula for coated or waxed cars. If you prefer a product that adds protection while you wash, Turtle Wax Hybrid Solutions Ceramic Wash and Wax leaves behind a light hydrophobic layer for extra gloss.
If you use a foam cannon, look for a soap labeled as high-foaming or foam-cannon compatible. These create thick suds that cling to the surface, lifting dirt before you touch the paint, which helps prevent swirl marks.
Pro Tip
Use the two-bucket method when washing. One bucket holds clean, soapy water and the other is for rinsing your mitt. This keeps dirt out of your wash solution and minimizes the risk of scratching your paint.
Once your paint is clean, the next step is ensuring your glass is just as spotless. In the next section, we will look at the best automotive glass cleaners for crystal-clear visibility and streak-free results.
Best Automotive Glass Cleaners for Crystal-Clear Windows
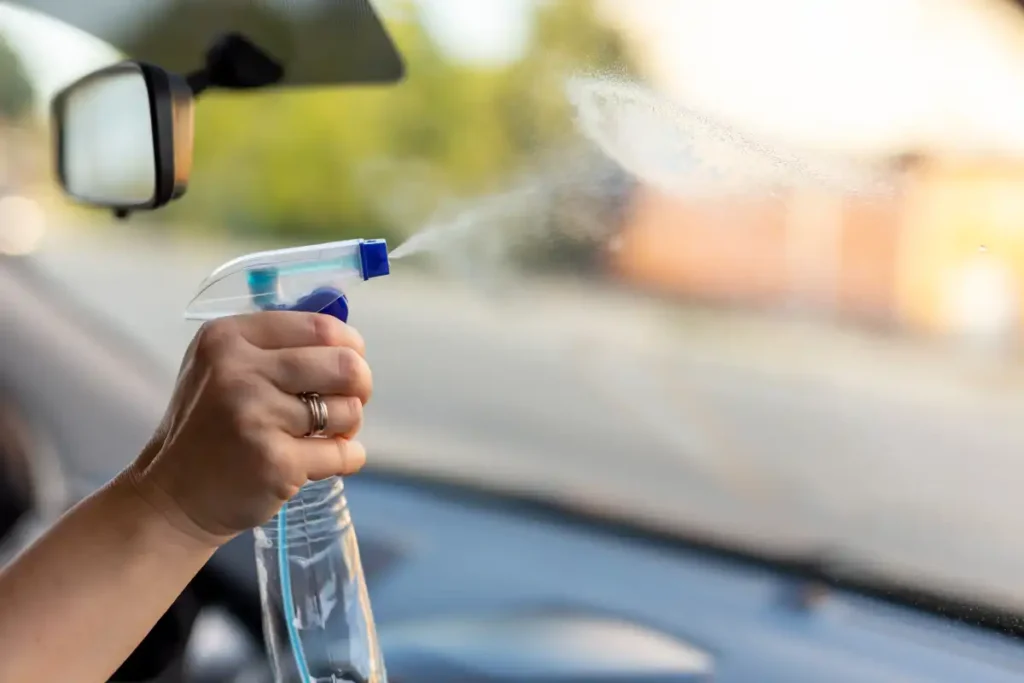
Clean glass is one of the easiest ways to make your car look freshly detailed. Clear windows improve both visibility and the overall appearance of your vehicle, but not all cleaners are created equal. Household products like Windex can damage window tint or leave streaks. Automotive glass cleaners are among the most effective exterior detailing products for cutting through road grime, bug splatter, and oily residue without harming delicate surfaces.
Why You Should Use an Automotive Glass Cleaner
Car glass cleaners are designed to handle the unique contaminants your vehicle encounters. They contain stronger surfactants that dissolve grease, tree sap, and mineral buildup while leaving behind a streak-free finish. Many are also ammonia-free, making them safe for tinted windows and modern glass coatings.
Choosing the Right Formula
If you prefer quick cleaning, aerosol glass cleaners like Invisible Glass by Stoner or Griot’s Garage Glass Cleaner are easy to apply and wipe off without streaks. For deeper cleaning or maintenance between washes, spray formulas such as Meguiar’s Perfect Clarity Glass Cleaner provide excellent results and a pleasant scent.
If you want a cleaner that also adds protection, Rain-X Cerami-X creates a durable hydrophobic coating that helps water bead off your windshield for weeks. This makes it especially useful in rainy climates. For budget-friendly options, Rain-X Glass Cleaner + Rain Repellent delivers solid clarity and mild water repellence at a lower cost.
How to Get the Best Results
Always use a clean, lint-free microfiber towel dedicated to glass. Fold it into quarters, spray the cleaner directly onto the towel, and wipe in straight lines. Flip to a dry side to buff the glass until it is clear. Work in the shade or in a cool garage to prevent streaks and evaporation marks.
If you want to see which products actually perform the best, check out our full comparison guide: Best Window Cleaner For Cars. If your windows are clean but still look dull or have fine scratches, it might be time to go a step further. In the next section, we’ll look at the best glass scratch removers and how they can restore your windshield and windows to a flawless, like-new finish.
How to Choose the Right Glass Scratch Remover for Your Car
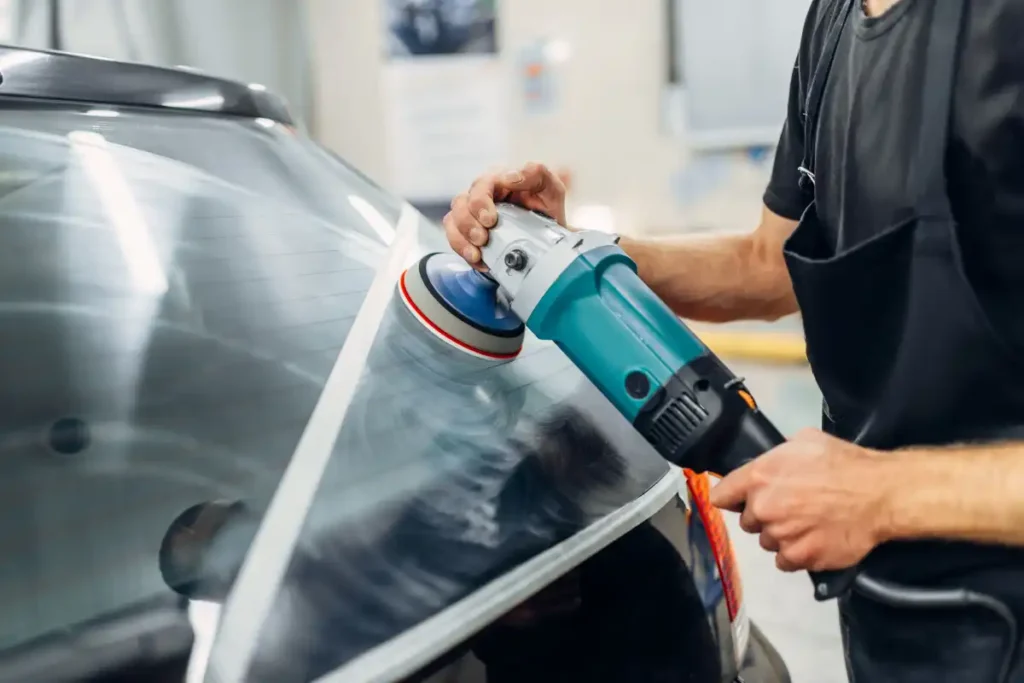
Even after a perfect cleaning, fine scratches or wiper marks can still dull your windshield and side windows. The good news is that you can often restore the glass without replacement if you use the right exterior detailing products, like a dedicated glass scratch remover. The key is understanding the type of scratch you are dealing with and choosing a product designed for automotive glass.
Check the Ingredients
Look for cerium oxide, which is the main ingredient that chemically restores glass instead of simply buffing the surface. It reacts with the glass at a microscopic level to smooth out imperfections and bring back optical clarity. Avoid products formulated for paint or plastic because they can cause haze or visual distortion.
Match the Product to the Scratch
For light surface marks, a basic cerium oxide polish kit with a felt pad usually works well. These kits can safely remove light wiper scratches and swirl marks. For slightly deeper scratches, use a complete polishing kit that attaches to a drill or dual-action polisher for more consistent results.
If a scratch feels rough to the touch or appears white, it is likely too deep for polishing. In that case, professional repair or glass replacement is the safest choice.
Consider Ease of Use
Choose a product that includes clear instructions and works with tools you already own. Liquid or paste-style compounds are easiest to handle and control. Some kits even include pre-measured cerium oxide and a polishing pad, making them ideal for beginners who want professional results at home.
Stick With Trusted Brands
Brands such as 3M, Glass Polish, and Ceriglass have proven track records for high-quality results. They produce minimal haze and deliver a smooth, streak-free finish when applied correctly. Before buying, check user reviews for mentions of restored clarity and ease of application.
If you’re not sure which product suits your car best, check out our How to Choose the Right Glass Scratch Remover for Your Car. It covers different types of windshield damage, how to maintain clarity over time, and when it’s smarter to replace your glass instead of polishing it.Once your windshield looks spotless, the next thing people usually notice is the wheels. In the next section, we’ll break down how to choose the best tire cleaners to bring back that deep, glossy finish that makes the whole car look freshly detailed.
How to Choose the Best Tire Cleaner
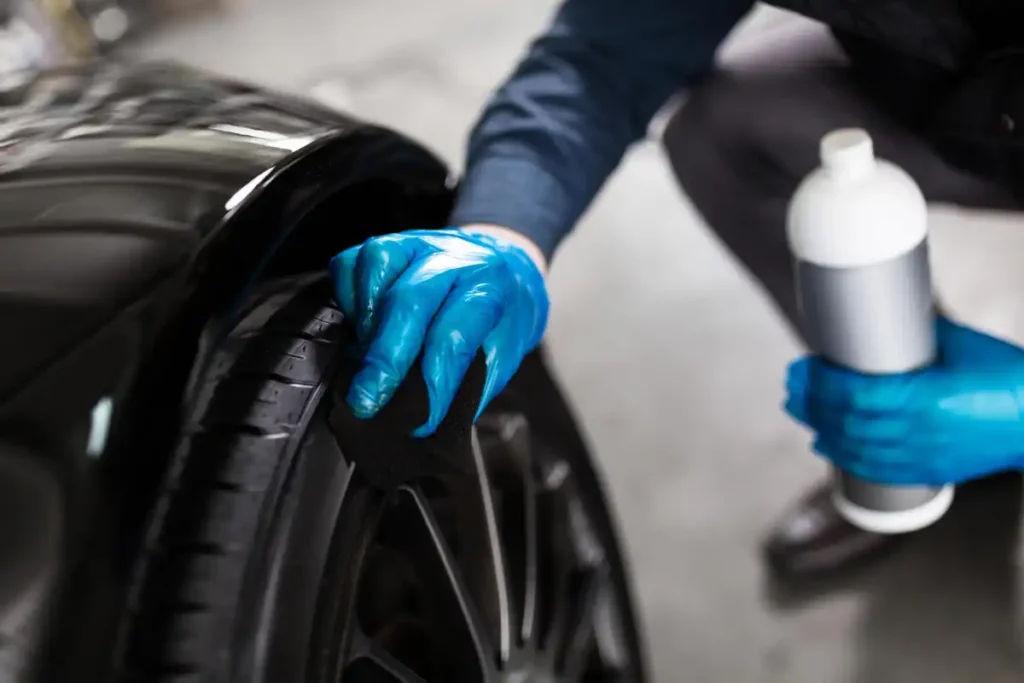
Tires are one of the first things people notice when they look at your car. A clean, dark tire adds contrast and makes the entire vehicle look more polished. Yet many drivers overlook proper tire care, relying only on tire shine sprays that mask dirt instead of removing it. The secret to a truly clean finish starts with the right exterior detailing products, especially a high-quality tire cleaner.
Understand the Different Types of Tire Cleaners
Tire cleaners generally come in two main types: water-based and solvent-based.
Water-based cleaners are gentle, biodegradable, and safe for regular use. They use surfactants to lift road grime, brake dust, and oil without drying the rubber. These are ideal for people who wash their cars often and want to maintain a clean, natural look.
Solvent-based cleaners are stronger and designed to cut through heavy buildup, silicone residue, and old tire dressing. They work best for neglected or extremely dirty tires but should always be rinsed thoroughly to prevent drying or cracking.
Look for Cleaning Power and Safety
The best tire cleaner removes dirt and brown oxidation without harming nearby surfaces such as paint or wheels. Non-acidic and pH-balanced formulas are safest for most vehicles. A simple way to tell if the cleaner is working is to watch the runoff. If it turns brown, that is the embedded grime and silicone lifting out of the rubber. Continue cleaning until the runoff is clear, and you will know your tires are truly clean.
Choose Based on Your Detailing Style
If you wash your car weekly, a mild cleaner is all you need to maintain a deep black finish. For off-road or high-performance vehicles that accumulate more buildup, choose a professional-grade formula that can handle grease and brake dust. Always pair your cleaner with a dedicated tire brush to reach the grooves and lettering. After cleaning, apply a tire dressing or protectant to restore depth, UV resistance, and a rich, even finish.
If you’re building your detailing routine from the ground up, check out How to choose the best tire cleaner. It breaks down every stage of the process, from washing and decontaminating paint to restoring glass and wheels for that showroom-ready look.Once your tires look flawless, it is time to turn your attention to the wheels. Brake dust and road grime can cling tightly to metal surfaces, dulling their shine and even causing corrosion over time. In the next section, we will explore the best wheel cleaners and how to choose a formula that safely restores your wheels to a bright, like-new finish without damaging the surface.
Best Wheel Cleaners for Brake Dust and Road Grime
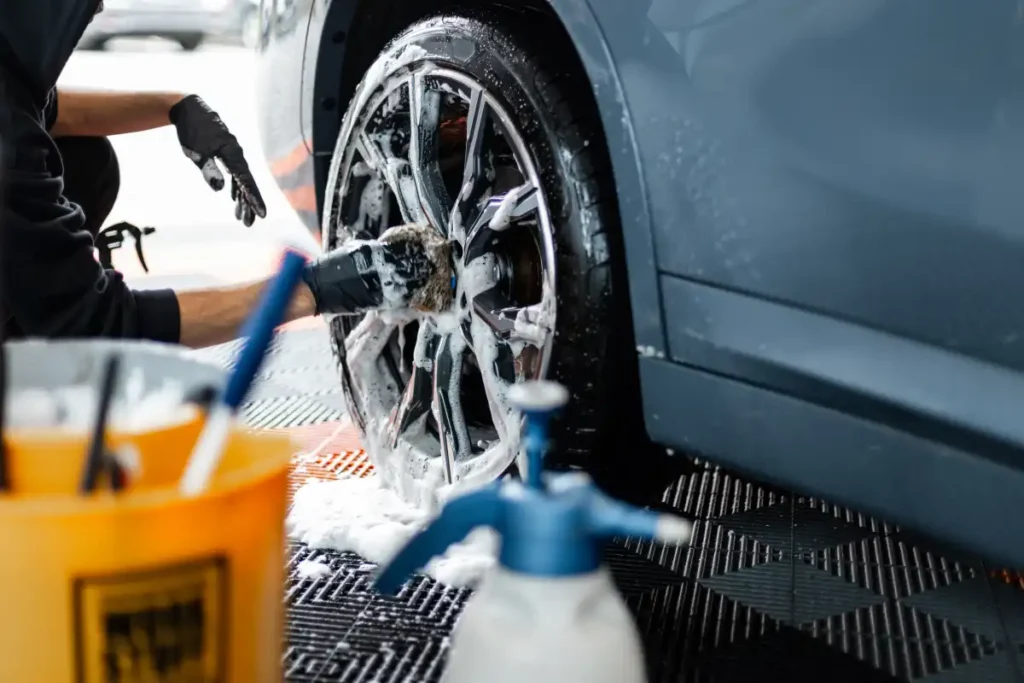
Your wheels take more punishment than any other part of your car’s exterior, which is why choosing the right exterior detailing products for them is essential. Between hot brake dust, tar, and road film, regular car soap is rarely enough to clean them properly. The right wheel cleaner breaks down this buildup safely and restores that sharp, metallic finish without damaging the surface.
Understand the Different Types of Wheel Cleaners
Wheel cleaners come in two main categories: acidic and non-acidic.
Acidic cleaners are strong and effective on stubborn brake dust, but they can etch clear-coated, painted, or polished wheels if not used correctly. They are best reserved for neglected or heavily soiled wheels that need serious restoration.
Non-acidic wheel cleaners are the safer option for routine cleaning. These formulas rely on surfactants and iron-reactive ingredients that dissolve contaminants without harming the finish. Most change color as they react with brake dust, letting you see the product at work.
Choosing the Right Product for Your Wheels
If you have factory clear-coated or painted wheels, stick with a pH-balanced cleaner such as P&S Brake Buster, Griot’s Garage Wheel Cleaner, or Sonax Wheel Cleaner Plus. These deliver strong results without the risk of corrosion. For chrome, bare aluminum, or anodized finishes, always read the label to confirm compatibility.
Spray the cleaner onto cool wheels, let it dwell for 30 to 60 seconds, then agitate with a dedicated wheel brush to loosen buildup. Rinse thoroughly with water and dry with a microfiber towel to prevent spotting.
Pro Tip
Clean your wheels before washing the rest of the car to prevent brake dust from splattering onto clean paint. Follow up with a wheel sealant or ceramic coating to make future cleanings faster and reduce the amount of grime that sticks.
Once your wheels are spotless, it is time to look under the hood. In the next section, we will go over how to choose the right engine degreaser to safely restore a clean, factory-fresh finish.
How to Choose the Right Engine Degreaser for Your Car
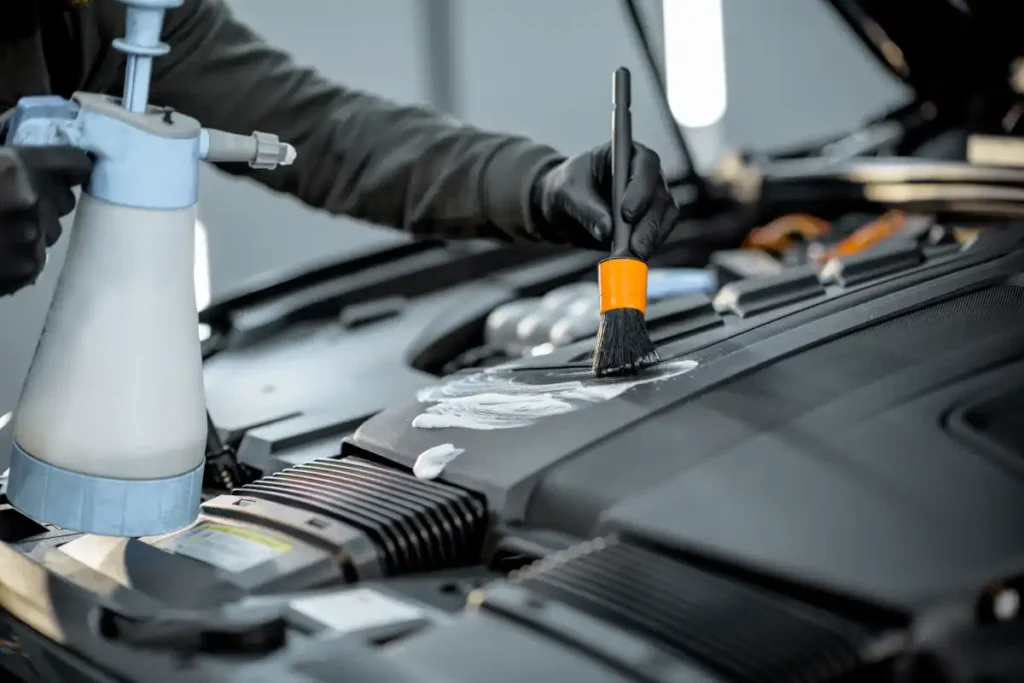
A clean engine bay is more than just cosmetic. Removing grease and grime helps your engine run cooler, makes leaks easier to spot, and gives your car a well-maintained appearance. With the right exterior detailing products, including a quality engine degreaser, you can safely clean under the hood without risking damage to sensitive parts.
Understand the Types of Engine Degreasers
Engine degreasers are typically solvent-based, water-based, or foaming. Each has its strengths depending on the condition of your engine.
Solvent-based degreasers are powerful and effective on heavy oil and baked-on grime. They work well for older or high-mileage engines but should be used with caution, as they can dry out rubber or damage plastic if left too long.
Water-based degreasers are safer for modern vehicles and frequent maintenance. They are usually biodegradable, non-toxic, and gentle on painted and aluminum components.
Foaming degreasers are popular for DIY detailing because they cling to vertical surfaces and give you better control with less runoff.
Focus on Safety and Compatibility
The best degreasers remove grease effectively while staying safe for plastic, rubber, and painted parts. Always look for non-acidic and non-flammable formulas, and check the label to ensure the product is safe for aluminum and modern engine materials. Avoid harsh industrial products unless you are working on an older, heavily soiled engine outside of a regular detailing routine.
Apply It the Right Way
Always start with a cool engine. Cover sensitive components such as the alternator, battery, and air intake with plastic or foil. Spray the degreaser evenly, focusing on oily and greasy areas, and allow it to dwell for a few minutes. Agitate with a soft detailing brush, then rinse lightly using low-pressure water or a damp microfiber towel. Dry thoroughly with compressed air or clean towels before removing any covers.
For an extra finish, apply a non-greasy dressing to restore a clean, satin look and protect plastic and rubber parts from heat and UV exposure.
If you’re new to engine detailing, check out Which Engine Degreaser Should You Use?. It covers everything from washing and tire care to polishing and protecting your engine bay safely.Make sure the product clearly states that it’s safe for aluminum and modern engine materials. Avoid harsh industrial-grade cleaners unless you’re working on a heavily soiled engine outside of a regular car detailing routine.
How to Protect Your Paint: Waxes, Sealants, and Ceramic Coatings
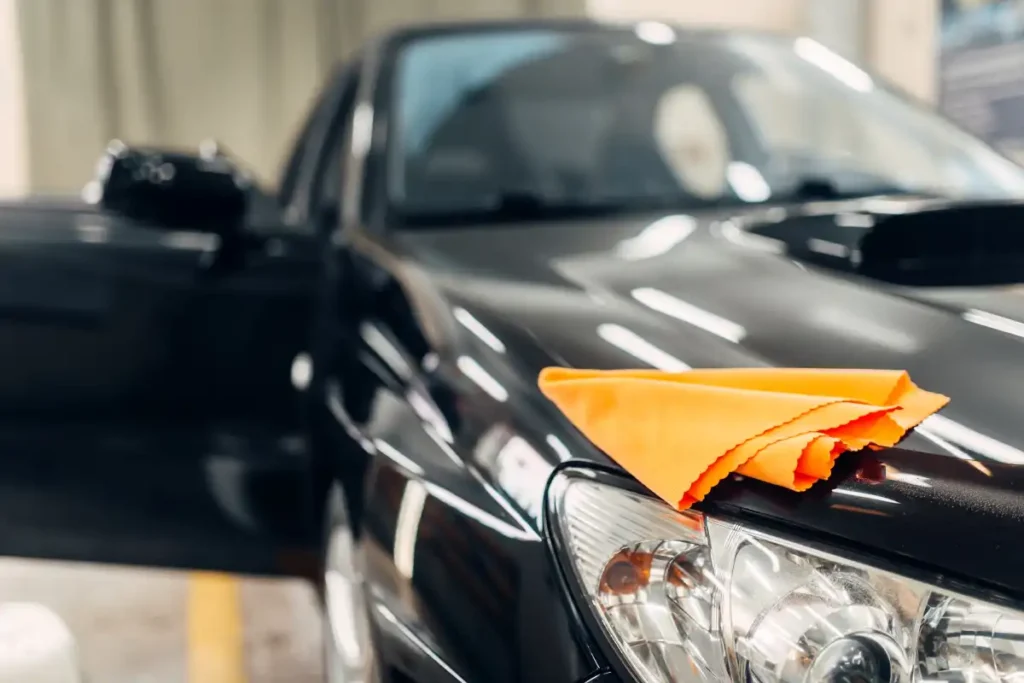
After cleaning your wheels, tires, and engine bay, the final step in exterior detailing is protecting your paint. This is what separates a freshly washed car from one that looks professionally detailed. A good protection product not only enhances shine but also shields your paint from UV rays, bird droppings, acid rain, and harsh contaminants that can cause fading and oxidation over time.
Wax vs. Sealant vs. Ceramic Coating
Each type of paint protection has its strengths, and the right choice depends on your goals and how often you detail your car.
Car wax is the traditional favorite. It delivers a rich, warm glow that brings out the depth of your paint, especially on darker colors. However, wax wears off after a few weeks and needs regular reapplication.
Paint sealants are synthetic versions of wax that last much longer. They create a smooth, glass-like finish and protect your paint for up to six months. Sealants are perfect for drivers who want long-lasting shine without constant upkeep.
Ceramic coatings are the most advanced option. They chemically bond to your paint to form a tough, hydrophobic layer that can last years with proper care. Water beads instantly, dirt slides off easily, and your car stays cleaner for longer. Ceramic coatings require more prep and precision during application, but the results are unmatched in durability and gloss.
Choosing the Right Product for You
If you enjoy frequent detailing and like the hands-on process, a high-quality wax can be both satisfying and affordable. If you want protection that lasts between seasons, a paint sealant strikes a great balance between ease of use and longevity. For enthusiasts who want top-tier performance, a ceramic coating kit offers the ultimate finish, provided you are comfortable with a more involved application.
Whichever option you choose, always apply your product to clean, smooth paint. Wash and decontaminate your surface with a clay bar or iron remover first to ensure the product bonds properly.
Pro Tip
Apply paint protection products in the shade and on a cool surface. Work panel by panel and use soft microfiber towels to buff away residue for a mirror-like finish.
Once your paint is protected and gleaming, you have officially completed the full exterior detailing process. In the final section, we will recap the essential steps and products that keep your car looking showroom-ready all year long.
Final Thoughts
When it comes to detailing, consistency and the right exterior detailing products make all the difference. You now know how to clean, protect, and maintain every part of your car’s exterior using professional-grade products that deliver real results.
The next step is to apply what you have learned and refine your routine. With time, you will recognize how different cleaners, polishes, and protectants work together to create a finish that lasts. If you ever need guidance, product comparisons, or advanced detailing strategies, you will find them here.
Your car deserves more than a quick wash. It deserves expert care and now you have the knowledge to make that happen.
F.A.Q.
How long should an exterior detail take?
Exterior car detailing can take anywhere from about an hour and a half for a simple wash and wax to four to six hours or longer for a deep detail that includes paint correction and other upgrades. The total time depends on factors like the size and condition of your vehicle, the level of service you choose, and whether you add extras such as a clay bar treatment, polishing, or ceramic coating.
What’s the best time of year to detail?
Every season has its own benefits when it comes to car detailing, but if you had to choose just one, spring is the best time to do it. It’s the perfect opportunity to clean away the damage from winter and get your car ready for the heat and road trips of summer.
How often should you detail your car exterior?
How often you should get your car detailed really depends on how much you drive, how you care for it, and the conditions it faces every day. Most experts suggest scheduling a full detail about two to three times a year, or roughly every four to six months, to keep it looking and feeling like new.
Do people detail cars in the winter?
Yes, car detailing in winter is common to protect against salt, improve visibility, and prevent weather damage. Detailers often adapt by using rinseless washes, focusing on interiors, working indoors, and applying protective sealants.