What is Car Detailing? A Beginner’s Guide

SFP
Reading time: 4 minutes
What is Car Detailing? A Beginner’s Guide

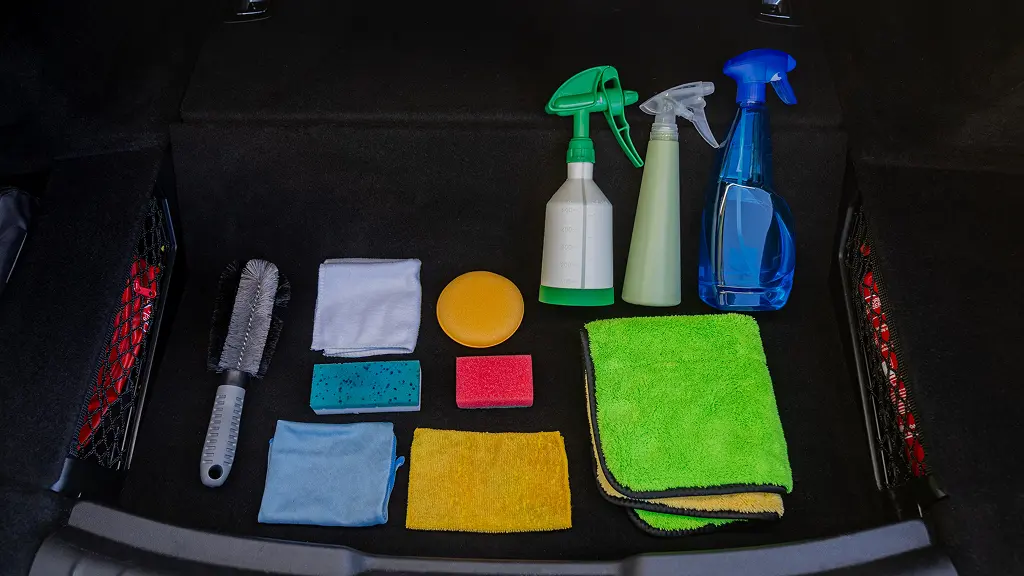
Car detailing can be frustrating if you don’t follow the right process. Many people wash their cars carefully yet end up with dull tires, lackluster paint, and an interior that still feels dirty. The issue often comes down to doing things in the wrong order. Once the proper workflow and a few professional tips are learned, the results transform a car to a showroom-level shine. This guide shares that step-by-step system along with recommended tools and products that truly work.

In This Guide, You’ll Learn:

  • The correct order for every step of vehicle detailing & cleaning
  • Tips and techniques that pros use to make cars sparkle like new
  • The best products to help you detail like a pro (without overbuying)

What Is Car Detailing (and Why Order Matters)?

Car detailing goes beyond a regular wash. It is a full restoration inside and out that brings back shine, freshness, and a like-new feel. Following the right order is essential to avoid undoing your work or damaging the car. The process should begin with the interior before moving to the exterior.

First Clean and Condition

  1. Declutter everything: Remove personal items, trash, and clutter from seats, doors, center console, and trunk.
  2. Pull out floormats: Vacuum them separately later.
  3. Vacuum thoroughly: Get into the seats, under them, around the pedals, and in the trunk. Use a brush or air compressor for tight spaces.
  4. Shampoo & surface clean: Use a carpet cleaner or interior shampoo on fabrics. Clean leather with a leather-safe product.
  5. Condition plastics and leather: Use an all-in-one interior detailer to restore and protect surfaces.
  6. Re-vacuum: Go over everything again to pick up debris loosened during cleaning.

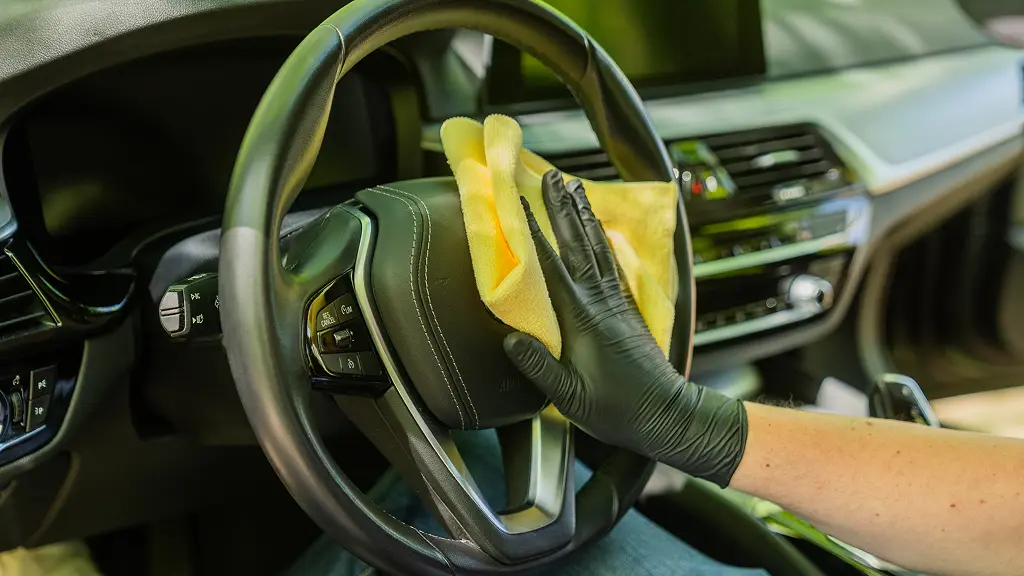
Pro Tip: Use a soft detailing brush to agitate dust and grime out of vents and seams.

Step 1: Clean Wheels, Tires & Engine Bay

Tire Cleaning With Brush

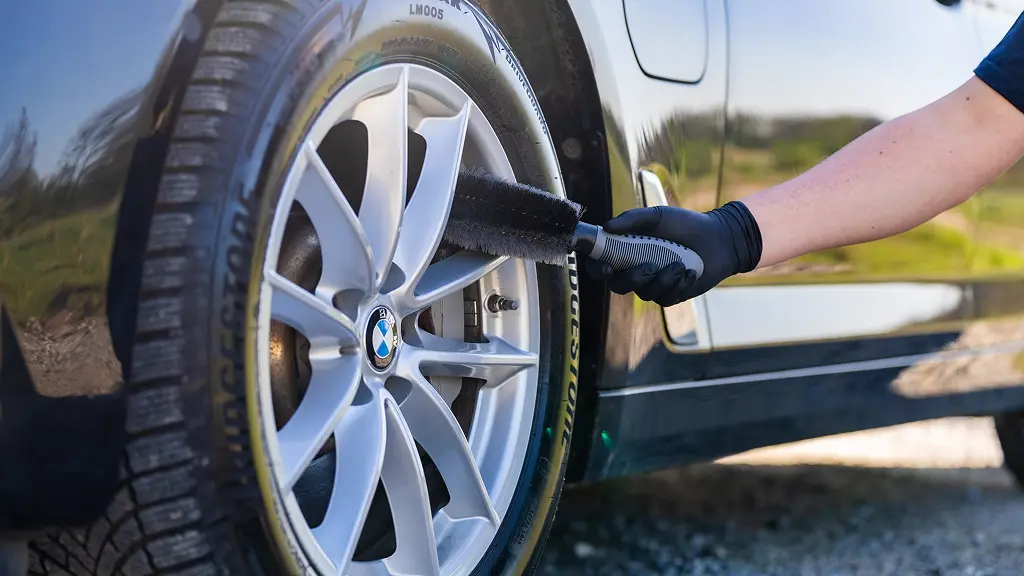
Start with the dirtiest parts to avoid dragging brake dust and grease across clean panels.

  • Use a wheel cleaner and dedicated wheel brush
  • Rinse thoroughly — don’t let grime dry back onto the surface
  • For the engine bay, use diluted APC (all-purpose cleaner), a soft brush, and wipe with a dry cloth

Step 2: Restore Headlights

Headlights restoration

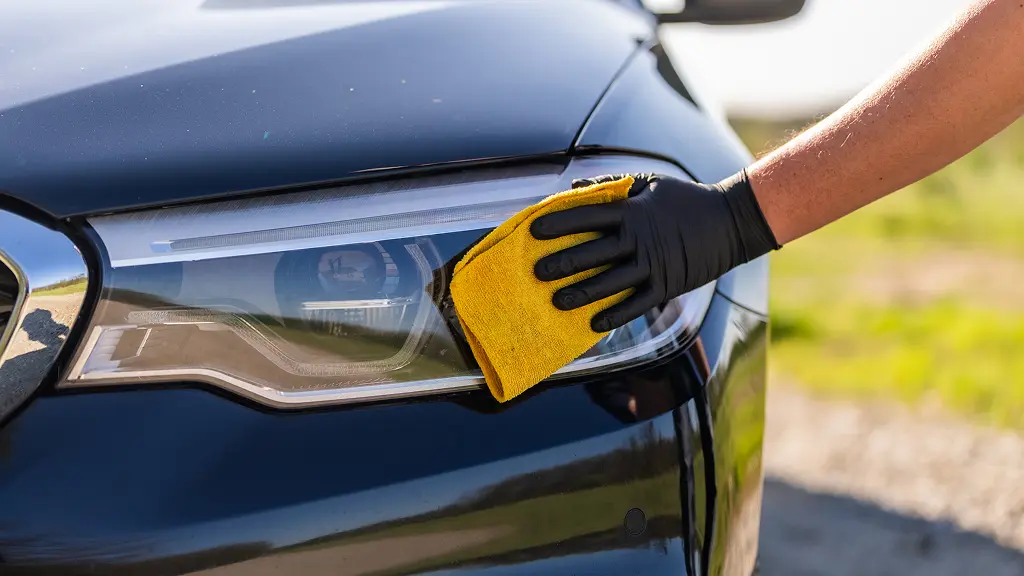
Use a headlight restoration kit to remove fog and oxidation. It instantly boosts your car’s appearance and improves night driving. Protect with a UV-sealant or ceramic coating.

Step 3: Pre-Wash (Bug & Grime Remover)

Pre-Wash (Bug & Grime Remover)

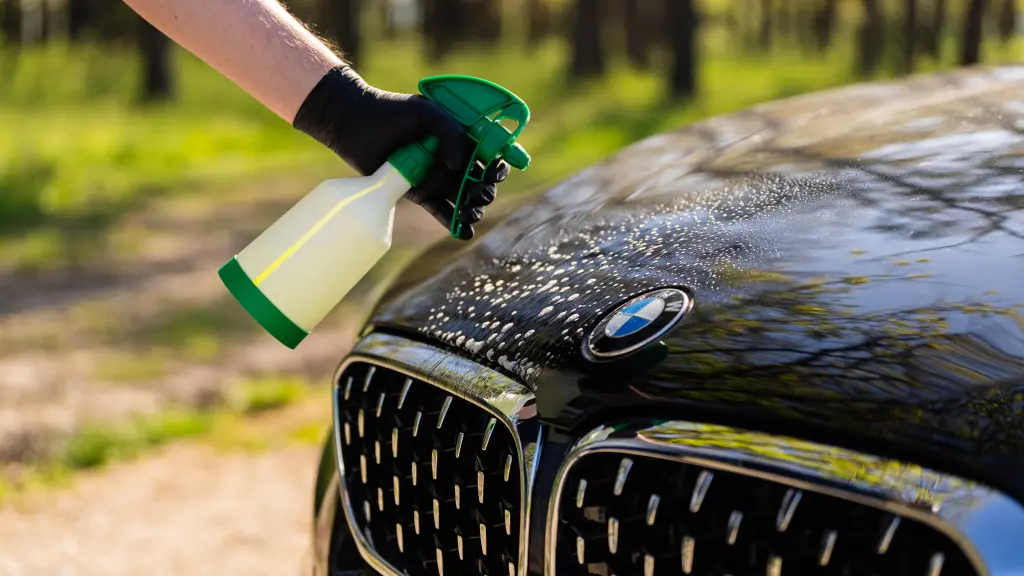
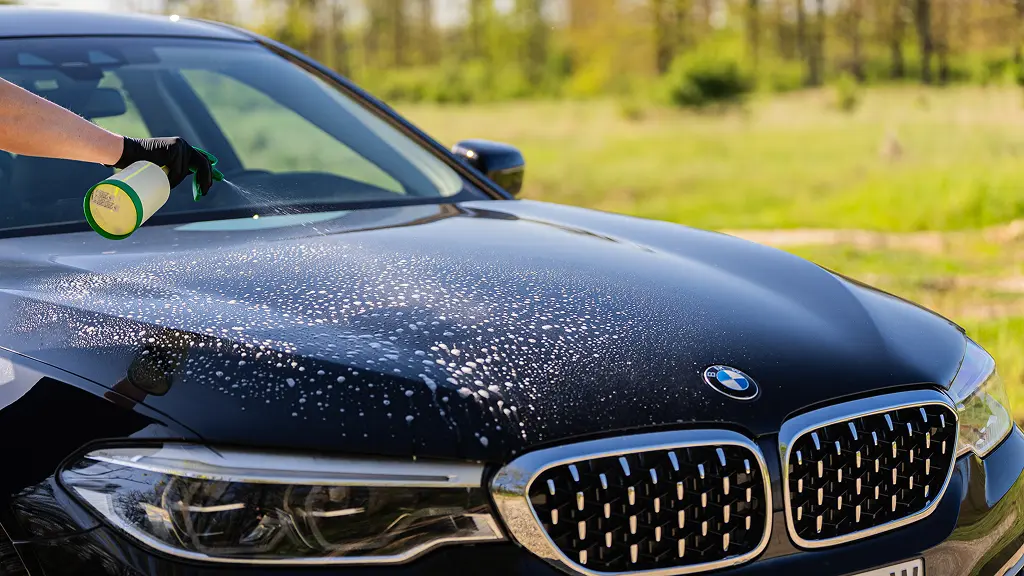
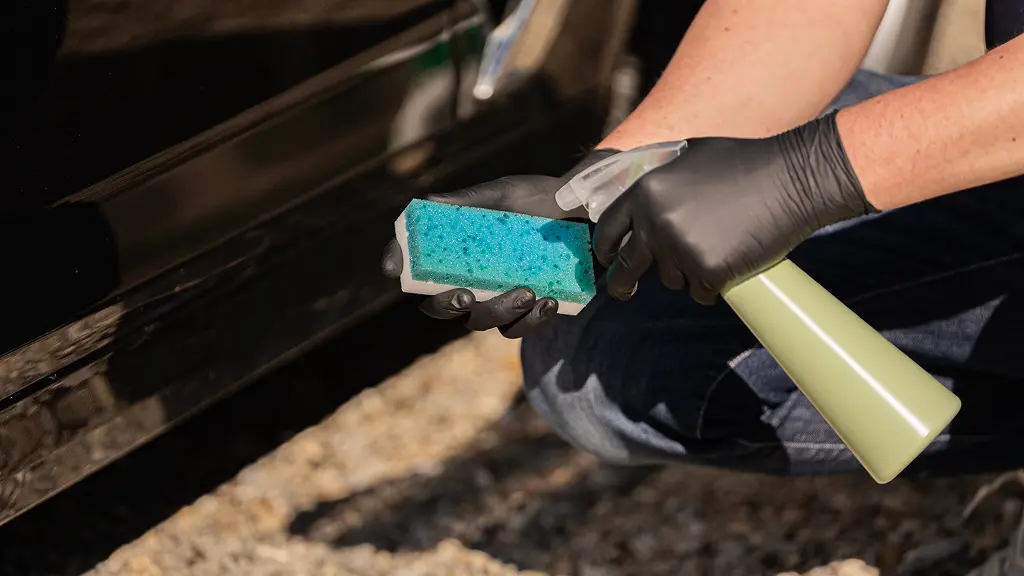
Spray a citrus-based cleaner on the lower panels and bug-prone areas. Let it dwell and rinse. This loosens grime before you touch the paint.

Step 4: Apply Snow Foam

Apply Snow Foam

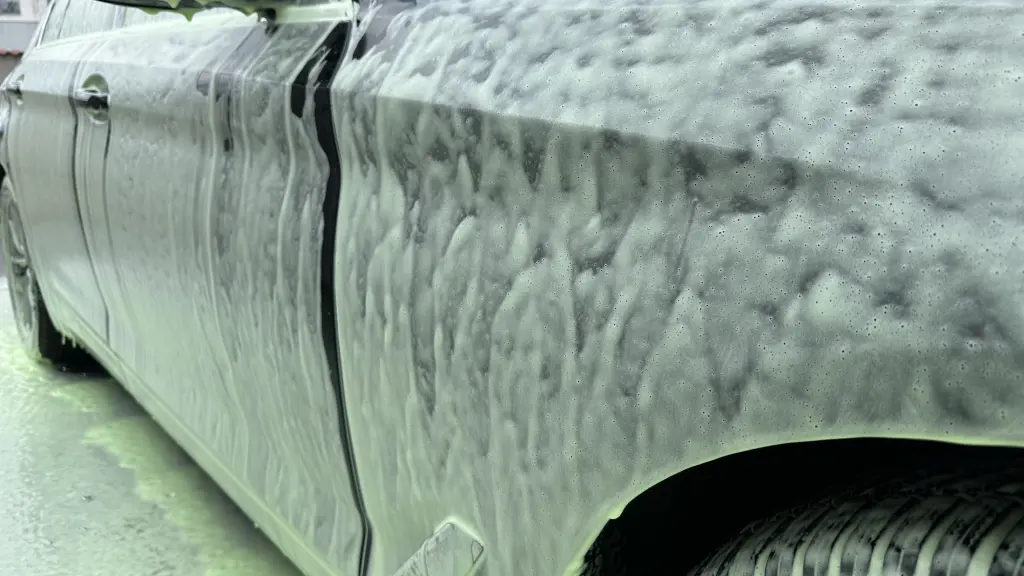
Foam acts like a pre-soak, lifting dirt without touching the paint.

  • Use a foam cannon or foam gun
  • Let the foam dwell for 5–10 minutes
  • Rinse

Why it matters: Touching dirty paint = swirl marks. Foam helps avoid that.

Step 5: Two-Bucket Contact Wash

Two-Bucket Contact Wash

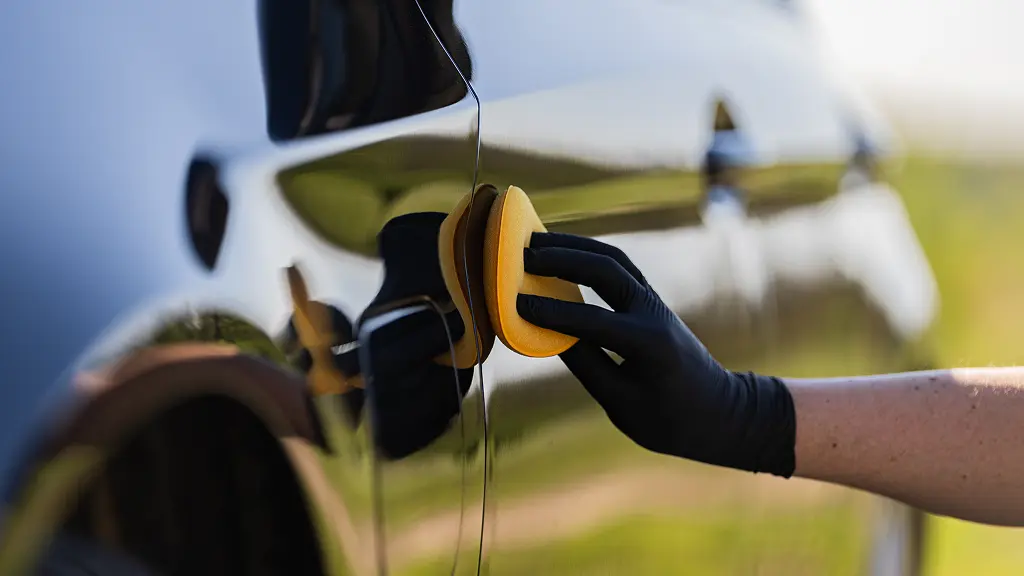
Avoid swirl marks with this pro technique.

  • Use one bucket for soapy water, another for rinsing your mitt
  • Always start from the roof and work down
  • Rinse frequently

Step 6: Decontaminate the Paint

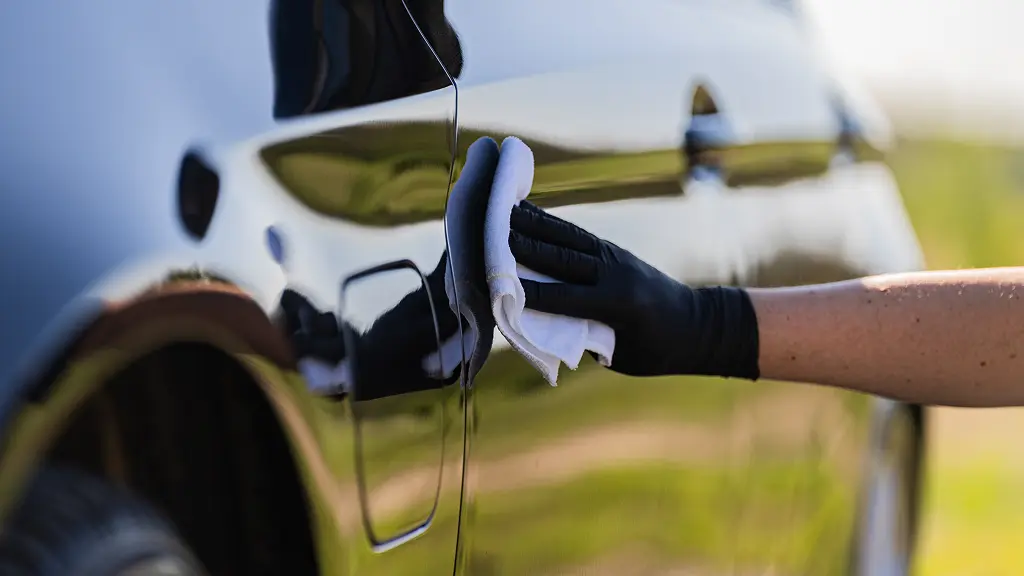
Even after washing, your paint still holds onto microscopic contaminants.

  • Spray iron remover on paint and rinse.
  • Spot-treat with tar remover.
  • Use a clay bar and lubricant to remove remaining contaminants.
  • Rewash any treated spots.

Step 7: Dry the Car

Dry the Car

Remove any water spots.

  • Use a clean microfiber drying towel (not bathroom towels)
  • Work top-down, fast but gentle
  • If water spots appear, mist with a quick detailer and buff them off

Step 8: Paint Correction (Polishing)

Paint Correction (Polishing)

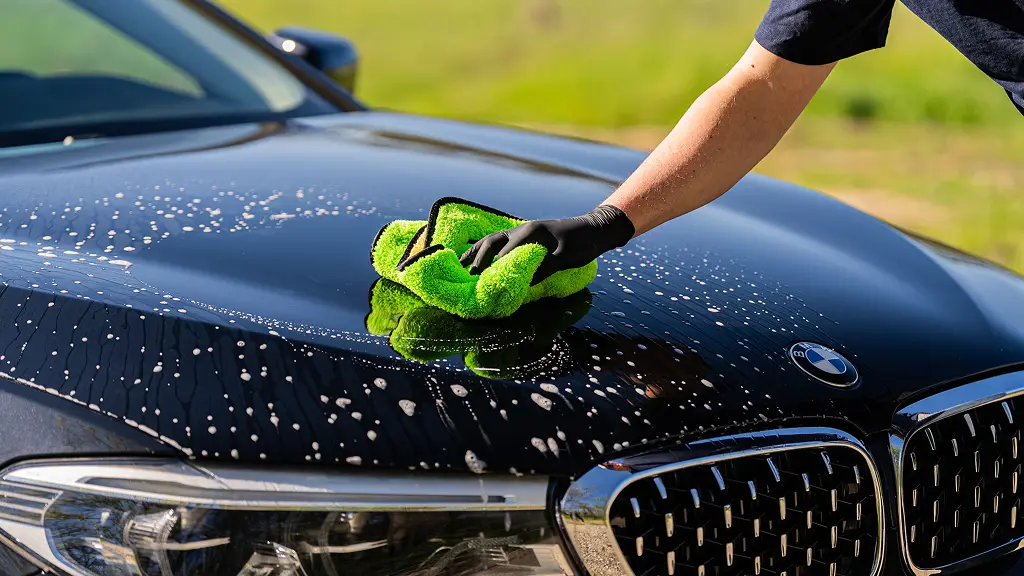
Now the paint is clean and smooth. It’s time to polish out swirls, scratches, and oxidation.

  • Use a dual action polisher or polish by hand.
  • Apply polish in small sections and follow instructions.

Step 9: Optional Glaze

Optional Glaze

Not essential, but a glaze adds depth and hides minor flaws. Especially nice on dark paint.

Step 10: Protect with Wax or Sealant

Protect with Wax or Sealant

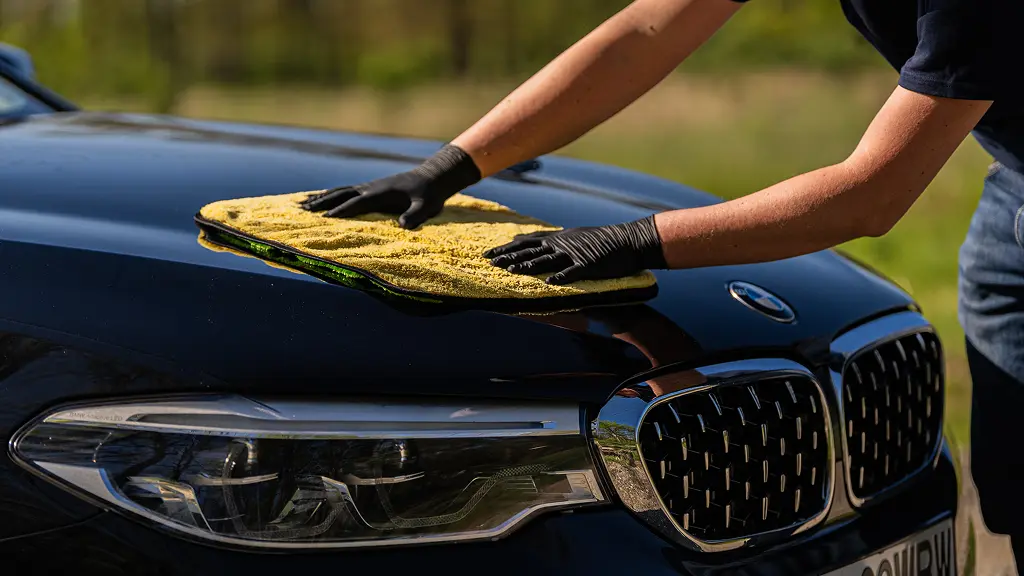
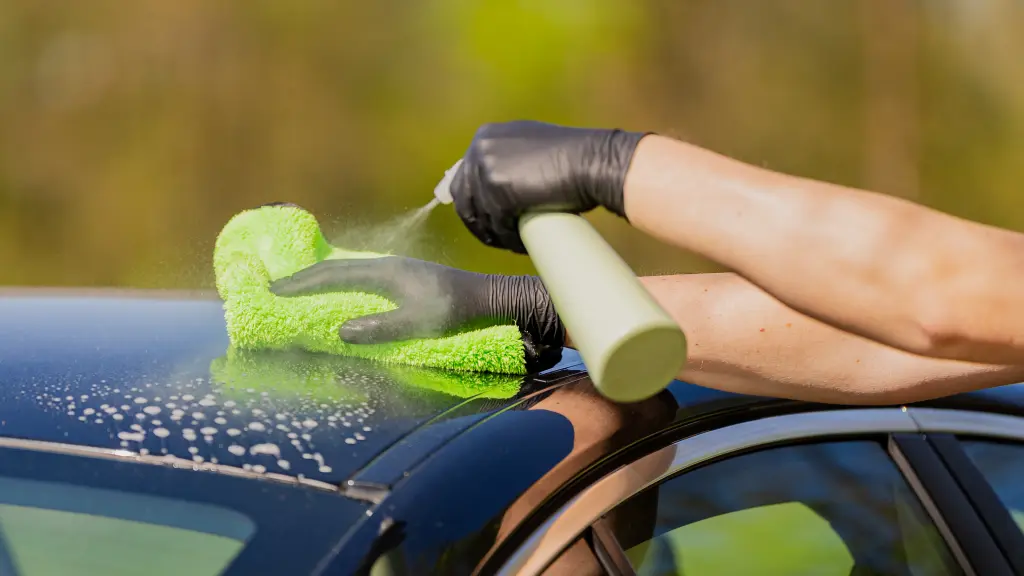
Lock in that shine and protect your hard work. Use a wax for warmth, or a ceramic sealant for longevity.

Step 11: Dress Tires & Trim

Dress Tires & Trim

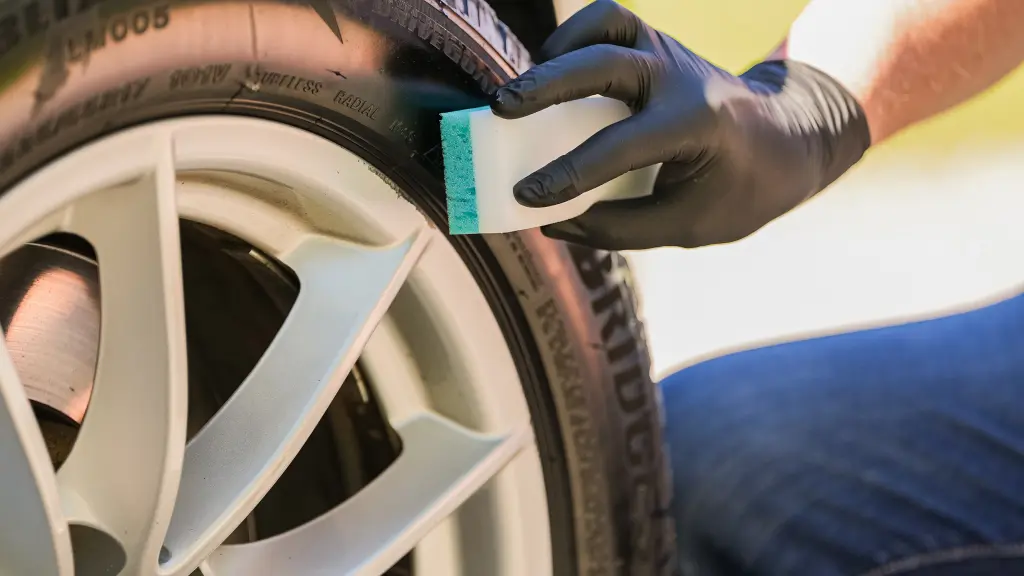
Apply tire dressing for a clean, matte finish. Restore plastic and metal trims with a trim restorer to bring back that rich, clean look.

Step 12: Clean the Windows

Clean the Windows

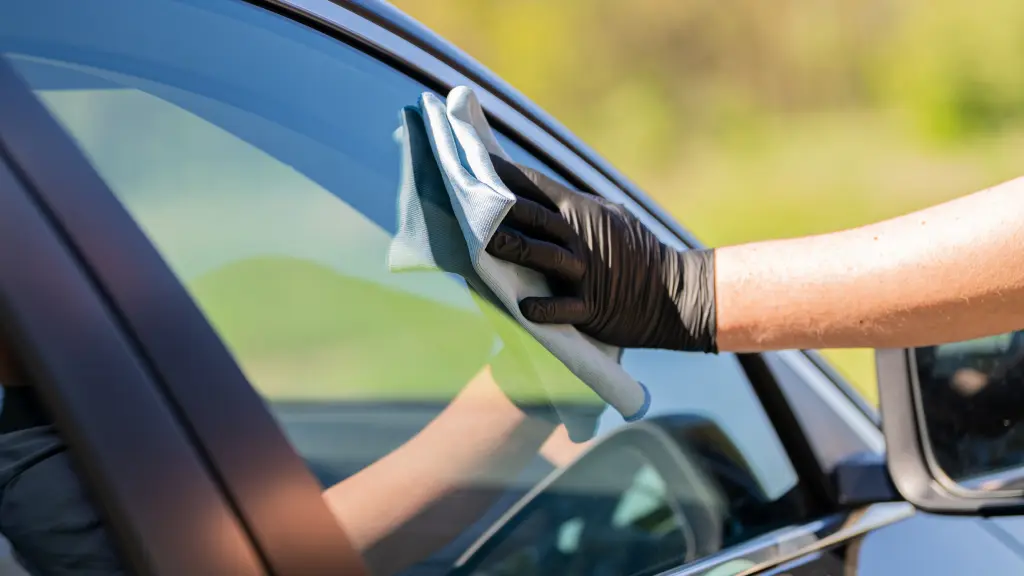
Clean glass is the cherry on top.

  • Use an automotive glass cleaner and streak-free towel
  • Don’t forget to roll down windows slightly to clean the edges

Step 13: Final Wipe-Down and Touch-Ups

Final Wipe-Down and Touch-Ups

Walk around the vehicle and check for:

  • Missed spots, leftover wax, smears, or fingerprints
  • Use a quick detailer for a final glossy finish

Step 14: Clean Your Tools

Clean Your Tools

Wash your towels, mitts, and brushes right away. Dirty tools = scratched paint next time.

What a Successful Car Detailing Looks Like

Car detailing is about following the right process, not chasing perfection. With the correct order, you avoid mistakes, save time, and get impressive results. All it takes is a few good products, patience, and an appreciation for a clean, polished car.