How to Do Paint Correction
SFP
Reading time: 9 minutes
Paint correction is the process of removing visible defects from a car’s clear coat using machine polishing, cutting compounds, and specialized pads. It smooths the surface by eliminating swirl marks, light scratches, oxidation, and water spots to restore a deep, glossy finish.
Whether you want to improve your car’s appearance, prepare for ceramic coating, or increase resale value, learning how to properly correct paint is an essential detailing skill. This guide breaks down the process in a clear, structured, and professional format so you can correct paint safely and confidently.
Paint correction is the controlled removal of surface imperfections from a vehicle’s clear coat. By using a machine polisher, abrasive compounds, and specialized pads, a thin layer of clear coat is carefully polished away. This eliminates defects such as swirl marks, light scratches, oxidation, and water spots. The result is a smoother surface that reflects light cleanly and produces a high-gloss, refined finish.
Paint correction does not repair deep gouges, rock chips, or scratches that have penetrated beyond the clear coat.
Removes light defects using a medium polish and a polishing pad. Ideal for quick enhancement and gloss improvement.
Uses a cutting compound followed by a finishing polish. This approach removes moderate defects and significantly improves clarity.
A customized, advanced process for heavily damaged paint. Multiple pad and compound combinations are used to safely restore depth and gloss.
Successful paint correction begins with preparation. Gather every tool and product before touching the paint. This prevents interruptions and ensures a smooth workflow.
Essential items:
These tools allow you to clean, correct and refine the paint without causing damage. High quality towels and pads are especially important because they reduce the risk of adding new scratches.
If you want to learn how to tackle minor scratches and dents yourself, check out Surface Damage Car Repairs: DIY Fixes.
It is safer to avoid polishing altogether than to rush the process or use low quality products in an attempt to save money. Polishing removes a small amount of clear coat each time, which is why patience, proper technique, and the right equipment are essential. If you are not ready to take on the responsibility of a full correction, consider hiring a professional to handle the work. After that, you can focus on maintaining the flawless finish rather than creating it from scratch.
This step-by-step guide covers surface preparation, masking, cutting, polishing, and final protection so you can perform a safe and effective paint correction from start to finish
Surface preparation is the foundation of every successful correction. Skipping this step leads to poor results and can trap contaminants under your compound and polish.
Wash the Car Thoroughly
Start with a complete wash using pH balanced car wash soap and the two bucket method. Work from the top downward to prevent dragging dirt into clean areas. Wash the wheels with dedicated brushes and towels. Once finished, dry the car with microfiber towels to prevent water spots.
Clay Bar Decontamination
After washing, the paint may still contain bonded contaminants. A clay bar removes everything the wash could not.
1. Spray clay lubricant generously onto the paint.
2. Glide the medium grade clay bar across the surface in straight lines.
3. Knead the clay frequently to expose a clean side.
4. Wipe the area with a microfiber towel once contamination is removed.
The surface should feel smooth when your hand glides across it. Only then is the paint ready for correction.
Mask any area that should not make contact with compounds or polishes. This includes plastic trim, rubber seals, emblems and edges of windows. Proper masking protects delicate surfaces and keeps the finished look clean and professional.
The cutting stage removes visible defects such as scratches, swirl marks, oxidation and water spots.
1. Attach the orange cutting pad to the dual action polisher.
2. Apply five pea sized drops of a dedicated cutting compound.
3. Mist the pad with pad conditioner to maintain smooth motion.
4. Dab the pad around the panel before starting the machine.
5. Spread the compound at low speed, then increase the speed and work in a cross hatch pattern.
6. Continue until the compound becomes clear, which indicates that the abrasives have completed their cycle.
7. Wipe away residue with a clean microfiber towel.
At this point, the major defects should be significantly reduced or fully removed. The paint will already show a noticeable improvement in clarity.
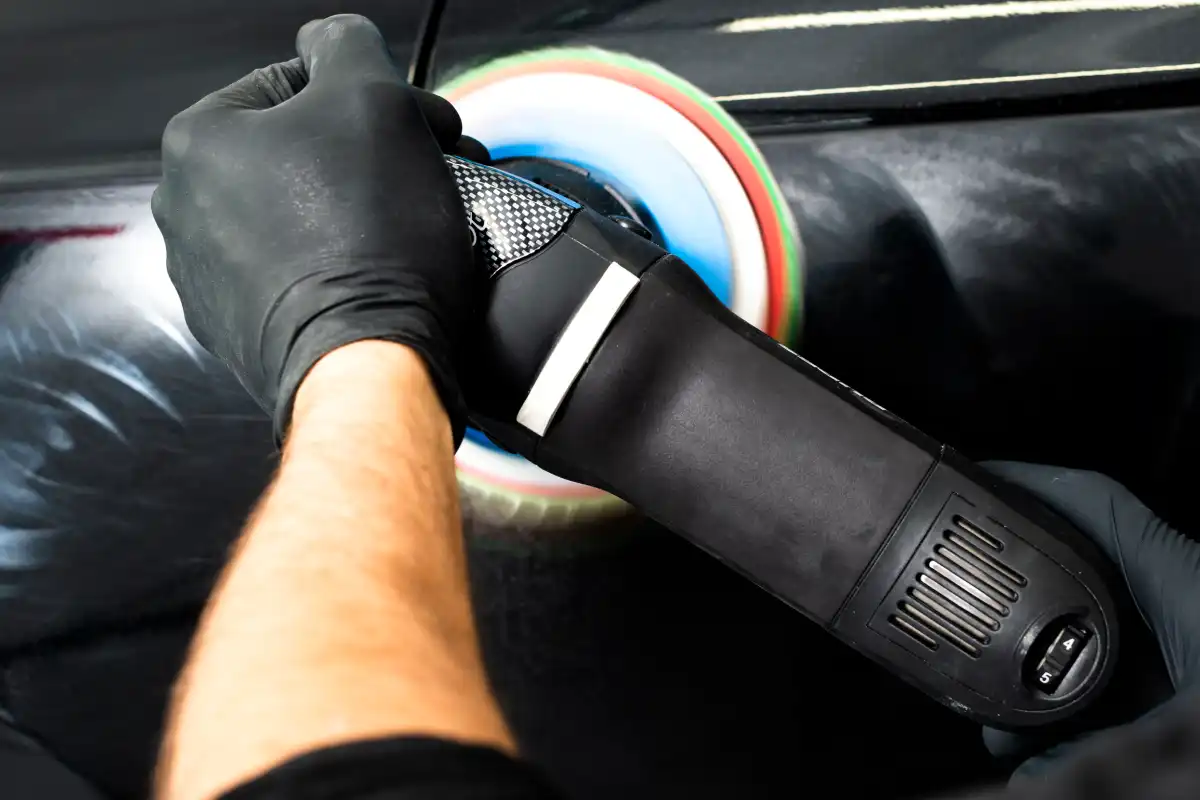
Cutting restores the structure of the paint, while polishing creates the final gloss. This step delivers the deep shine that car enthusiasts expect from professional correction.
1. Switch to the softer white polishing pad.
2. Apply a high-quality finishing polish using the same five-drop technique.
3. Work the polish into the paint using a cross hatch motion.
4. Continue until the product breaks down and the surface looks evenly refined.
5. Wipe the area clean with a fresh microfiber towel.
The paint should now show a crisp reflection with no haze or micromarring. This refined section is ready for protection.
Step back and examine the results in good lighting. Move around the vehicle to check reflections from different angles. Once satisfied, finish the process by applying a wax or sealant. This protects the corrected paint from UV rays, dirt and moisture while increasing shine and longevity.
Sealants offer longer protection, while wax provides a warm, traditional appearance. Either option preserves your work and keeps the finish looking sharp.
A paint correction typically lasts one to two years depending on:
Proper maintenance can significantly extend longevity.
Paint correction is safe when performed correctly, but improper technique can cause:
Always work carefully, use the correct pads, avoid excessive pressure, and monitor panel temperature.
Avoid performing paint correction in direct sunlight. Heat makes the process harder, increases the risk of marring, and causes products to dry too quickly.
Paint correction is one of the most effective ways to rejuvenate a vehicle’s appearance. With careful preparation, the right tools and a methodical approach, you can remove defects, revive color depth and restore a showroom grade shine. When done properly, the process not only improves the look of your car but also protects the finish for years.
For readers who want a deeper understanding of how paint defects develop in the first place, this guide works best alongside our pillar resource Car Surface Damage: Complete Guide.
A paint correction restores clarity and shine by removing surface imperfections from a vehicle’s clear coat. It targets issues such as swirl marks, light scratches, oxidation and water spots. Using a combination of machine polishers, compounds and pads, the process removes a thin layer of the clear coat in a controlled way, which reveals a smoother, glossier and more refined finish.
A paint correction typically ranges from about $300 to more than $2,500. The final price depends on the condition of the paint, the size of the vehicle, and the skill level of the detailer performing the work.
Yes, paint correction can remove most scratches, but only when the damage is limited to the clear coat.
Paint correction is a form of machine polishing that uses an abrasive compound to remove defects. It is often described as a cut and polish.