How to Choose the Right Glass Scratch Remover for Your Car
SFP
Reading time: 16 minutes
A quality glass scratch remover can restore clarity to your windshield and improve visibility without the need for expensive repairs. Scratches on automotive glass can quickly turn a clean, polished car into one that looks neglected. Beyond appearance, even minor marks and wiper streaks can distort light and affect visibility, especially when driving at night or in rain. Glass scratch removers are designed to solve this problem by polishing away surface imperfections and restoring optical clarity.
This guide explains how these products work, what to look for when choosing one, and which options perform best based on real-world testing. Whether you need a quick DIY fix or a professional-grade restoration, the right glass scratch remover can make a noticeable difference in both safety and appearance.
Not every glass scratch remover works the same way, and choosing the right one depends on the type of damage you’re dealing with and the tools you have on hand. Here’s what to consider before buying:
To evaluate each glass scratch remover, we focused on real-world performance rather than lab conditions such as.
The four below stood out for performance, value, and ease of use.
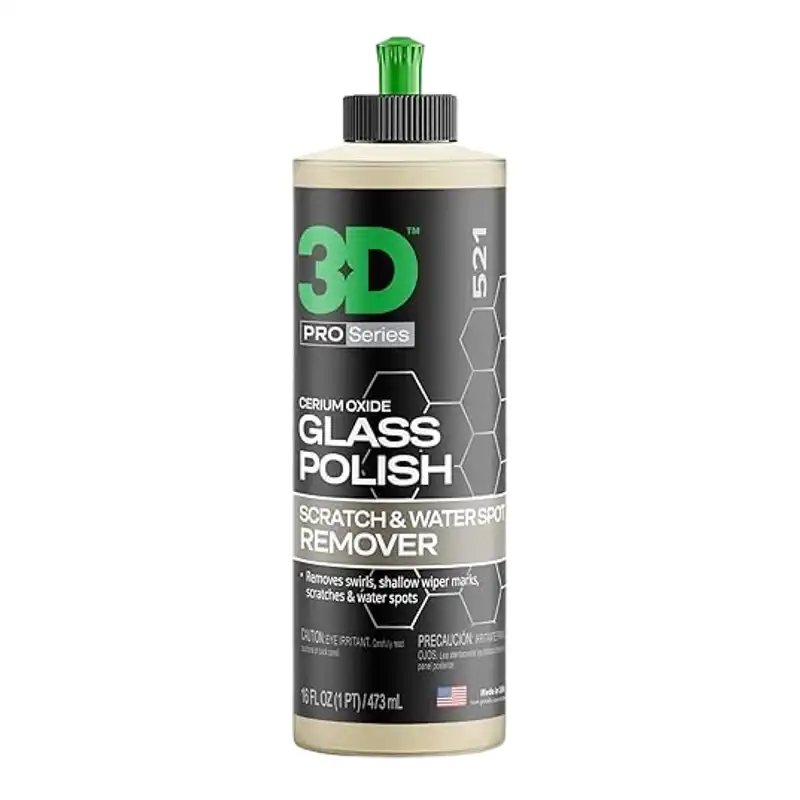
Why It Stands Out: The 3D Car Care Glass Polish stands out because it’s a cerium oxide–based formula specifically designed for automotive glass, not just general household surfaces. The product also features a long open time, giving users more control during polishing, and it doubles as an excellent prep step before applying ceramic or hydrophobic glass coatings. Together, these qualities make it a go-to solution for achieving professional-grade glass restoration at home.
Best for: This product is best for car owners or detailers who need to remove light to moderate scratches, wiper marks, and haze from automotive glass surfaces like windshields and windows, especially when using a felt pad and rotary polisher for professional-level clarity restoration.
Pros:
Cons:
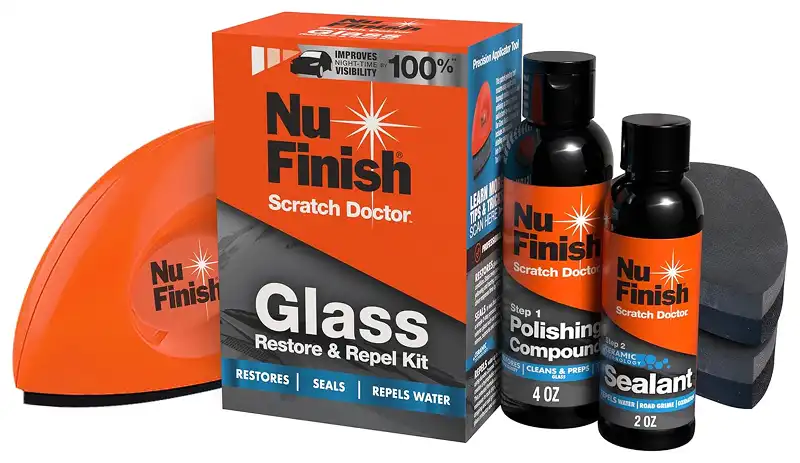
Why It Stands Out: The Nu Finish Glass Restore & Repel Kit combines a glass polishing compound with a ceramic glass sealant and includes a precision applicator tool plus reusable sponges. The polish removes haze, coatings, road grime, and water spots to improve visibility, while the ceramic sealant adds water repellency, chemical resistance, and long-lasting protection for up to two years. It’s designed specifically for automotive glass such as windshields, mirrors, sunroofs, and moonroofs.
Best For: Car owners who want to clean and protect exterior automotive glass by removing haze and improving water repellency in about 15 minutes using a complete, ready-to-use kit.
Pros:
Cons:
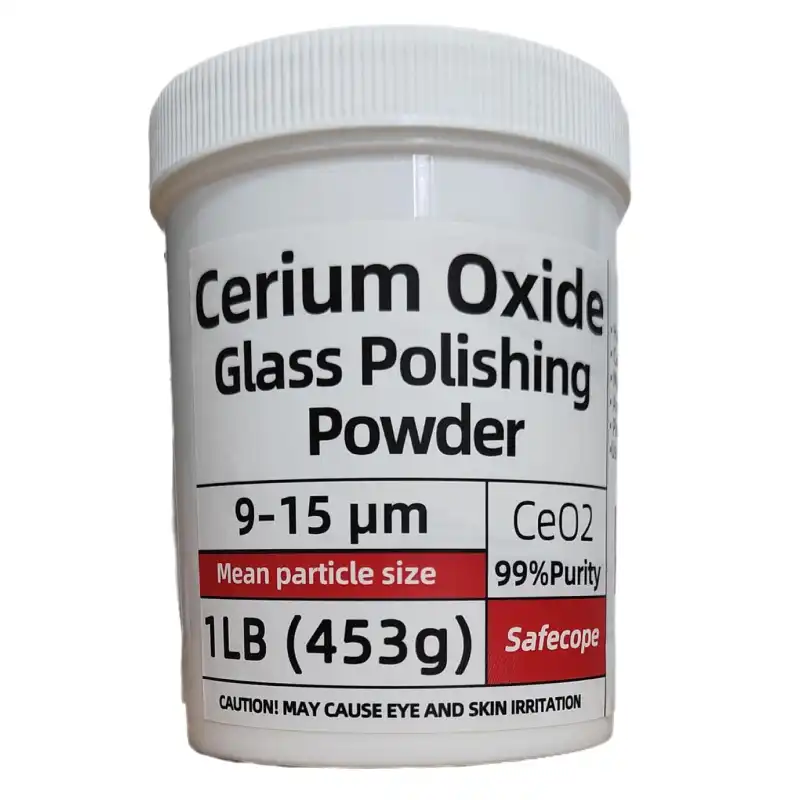
Why It Stands Out: The SafeCope 99% Cerium Oxide Glass Polishing Powder stands out for its high purity and fine grain size, making it highly effective at removing light scratches, haze, and wiper marks from glass. It’s versatile enough for automotive and household use and includes clear instructions for mixing with water and applying with pads or rotary tools.
Best For: This powder is best for users who want to remove fine scratches, haze, or surface marks from automotive or household glass using a polishing pad or rotary tool with proper water lubrication and technique.
Pros:
Cons:
Why It Stands Out:
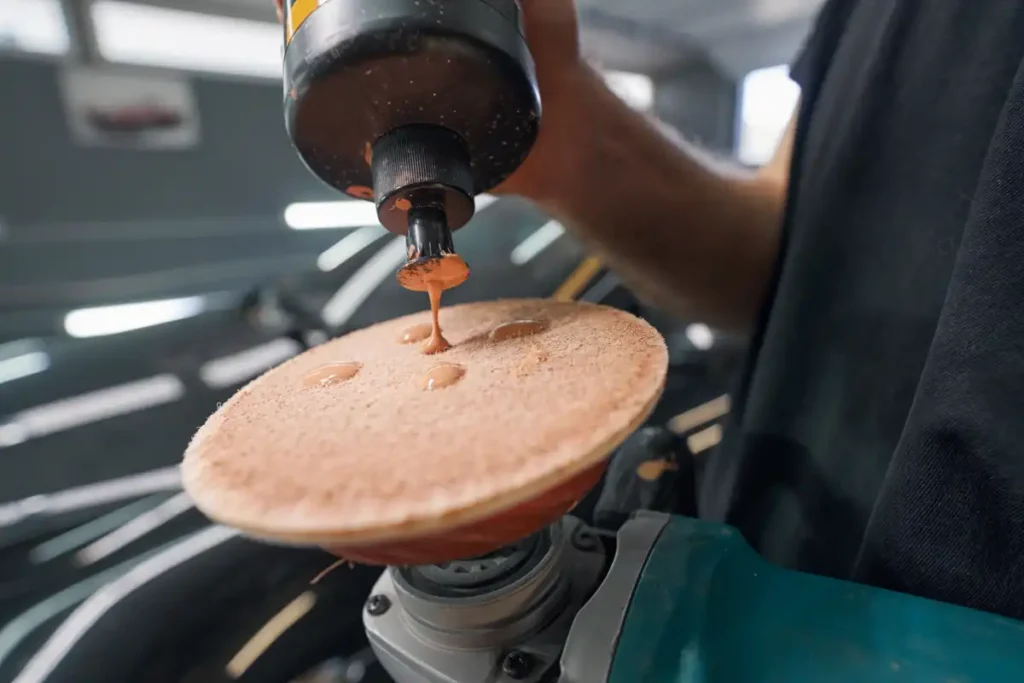
The Glass Polish DIY 75 mm Windshield Polishing Kit stands out because it includes everything needed for at-home glass restoration. It uses a cerium oxide compound with felt pads and a drill attachment to remove light scratches, wiper marks, and haze from windshields, restoring clarity without professional help.
Best For: Car owners or detailing enthusiasts who want to restore windshield clarity and remove light scratches, haze, or wiper marks using a drill attachment kit at home.
Pros:
Cons:

With so many glass scratch removers on the market, it can be tough to know which one actually delivers results. To make things easier, here’s a quick comparison of the top products we tested. Each option below has a specific strength, whether you need a quick DIY fix, a professional-grade polish, or a full restoration kit.
| Product | Best For | Standout Features |
| 3D Glass Polish | Removing light to moderate scratches, wiper marks, and haze | Cerium oxide formula designed for automotive glass; long working time; doubles as a prep for coatings |
| Nu Finish Glass Restore & Repel Kit | Quick DIY restoration and long-term glass protection | Two-step polish and ceramic sealant system; includes applicator and sponges; adds up to two years of water repellency |
| SafeCope Cerium Oxide Powder | DIY users tackling fine scratches and haze on glass | 99% pure cerium oxide; works on automotive and household glass; can be used by hand or with a polisher |
| Glass Polish DIY Kit | Home users restoring windshield clarity and surface smoothness | Complete kit with drill attachment, felt pads, and compound; easy setup with step-by-step instructions |
When it comes to removing scratches from glass, not all products are created equal. Depending on the depth of the scratch and the type of glass you’re working with, you’ll want to choose the right kind of remover. Here’s a breakdown of the most common types and what they’re best suited for.
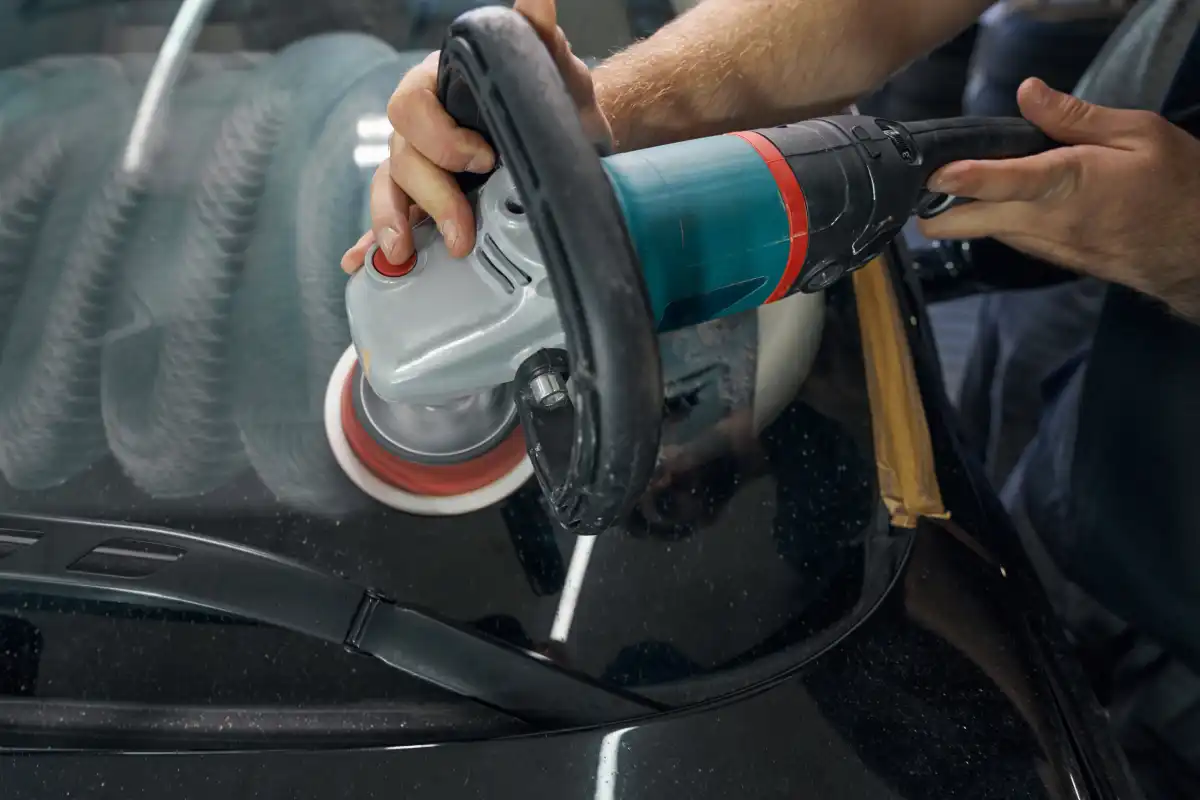
This is the gold standard in glass scratch removal. Cerium oxide is a fine white powder that turns into a slurry when mixed with water. It works by gently polishing the glass and smoothing out the edges of the scratch. You usually apply it with a felt polishing pad attached to a drill or buffer.
Cerium oxide is very effective for light to moderate scratches on car windshields, windows, and glass tables. It’s a favorite among professionals, but it’s also sold in DIY kits. Just be prepared for a bit of mess and a learning curve.
These kits are made for home users and usually include everything you need: polishing compound, felt pads, and sometimes a drill attachment. The compound is often cerium oxide or a similar abrasive material. These kits are perfect for people who want to remove wiper marks from a windshield or pet scratches from a sliding door.
They offer a good balance of power and convenience. If you follow the instructions and take your time, you can get solid results without needing professional help.
Liquid scratch removers are quick and easy to use, but they’re usually best for very light scratches or scuff marks. These products are more like cleaners with mild abrasives. They can improve the look of small surface scratches but won’t do much for anything deeper.
They’re a good maintenance tool, especially if you want to keep your shower doors or mirrors looking their best without getting out power tools.
Some products on the market are labeled as scratch removers but are actually fillers or repair films. These are more suitable for chips and small cracks than scratches. Instead of polishing the glass, they try to fill in the damage to make it less noticeable.
While not true scratch removers, they can be useful in specific situations, especially when you’re trying to stop a chip from turning into a crack.
Let’s be real here. You’ll find lots of hacks online suggesting toothpaste or baking soda as a glass scratch remover. While these can work in very mild cases, they’re not reliable for anything beyond tiny scuffs. Most commercial products are much more effective and safer for your glass.
Glass scratch removers don’t magically erase scratches, but they can make them a lot less visible. The idea is pretty simple: instead of filling in the scratch, you’re actually smoothing out the edges so the light reflects more evenly. That makes the scratch blend in better with the surrounding glass.
Here’s a step-by-step look at how the process works:
Before you start, make sure the glass is completely clean. Any dirt or debris can cause more scratches during the polishing process. Use a basic glass cleaner and a microfiber cloth to remove all surface grime. Dry it completely before moving on.
Depending on the product you’re using, you’ll either apply a powder that turns into a paste (like cerium oxide) or a ready-made liquid polish. Put a small amount of the compound directly onto the scratch or onto a felt polishing pad.
Using a polishing pad attached to a drill or by hand, start buffing the scratched area. Keep the pad moving in small circles and apply light pressure. If you’re using a drill, go slow and steady. Too much pressure or speed can cause heat buildup, which could damage the glass.
If you’re using a paste like cerium oxide, it’s important to keep the surface slightly wet while buffing. This helps reduce heat and prevents the compound from drying out too fast. A quick mist of water from a spray bottle usually does the trick.
After a few minutes of polishing, stop and wipe away the residue with a clean microfiber cloth. Check the scratch from different angles under good lighting. If it’s still visible, you can repeat the process a couple more times.
Most scratches won’t disappear on the first try, especially if they’re a little deeper. Be patient and do a few passes, letting the surface cool down between rounds if needed. Don’t overdo it though. Too much polishing in one spot can slightly distort the glass.
With the right product and technique, even stubborn scratches can become nearly invisible. The trick is patience and using the right materials for your type of glass.
Glass scratch removers are great tools, but they’re not a one-size-fits-all solution. Knowing when to use them can save you a lot of time and frustration. Here’s when these products tend to work best:
This is where scratch removers really shine. If the scratch barely catches your fingernail when you run it across the surface, chances are good that a polishing compound can reduce or even eliminate it. These shallow marks are often caused by cleaning with rough cloths, dragging objects across glass, or regular wear and tear.
Over time, windshield wipers can leave annoying streaks and fine scratches across your glass. A good polishing kit with cerium oxide can help buff those out and restore a clearer view. It’s a common problem and one that’s usually easy to fix at home.
If your dog paws at the window or you accidentally scrape a glass door with furniture, those surface-level scratches are usually treatable. As long as the damage is on the outer surface and not too deep, a few rounds of polishing can make a big difference.
These areas often get scratched from everyday use or aggressive cleaning. Glass scratch removers can help restore some shine and smoothness, especially if you catch the damage early. Be sure to check if the surface has any special coatings, though, as polishing can sometimes remove those.
Some polishing compounds can also help with very mild etching or stubborn water spots, particularly on shower doors and bathroom mirrors. While they won’t reverse heavy damage, they can improve the look and feel of the glass with a good buffing session.
A glass scratch remover can work wonders, but it isn’t the answer to every type of damage. In some cases, using one could waste your time or even make the problem worse. Here’s when you should think twice before reaching for the polish.
If you run your fingernail across the scratch and it catches easily, it’s probably too deep for a scratch remover to fix. Polishing compounds are designed for surface-level damage. Deep gouges may require professional repair or even glass replacement, especially if they weaken the structural integrity of the glass.
Scratch removers are not meant for fixing cracks or chips. These issues usually need resin fillers, crack repair kits, or replacement panels. Using a polishing compound on a cracked windshield, for example, won’t help and could make it harder to apply the proper repair later.
Many windshields and home windows are made of laminated glass, which has a plastic layer sandwiched between two pieces of glass. If the scratch is on the inner layer, there’s nothing a surface polish can do. The same goes for tinted or coated glass, like low-E windows. Polishing could damage the coating and leave the glass looking worse than before.
You might see DIY tips online recommending scratch remover for phone screens or glasses, but be careful. Most of these surfaces have delicate coatings for glare reduction or fingerprint resistance. A polishing compound can easily strip that layer off, leaving the surface cloudy or uneven.
If you’re dealing with a big piece of expensive glass, like a storefront window or a high-end tabletop, it’s usually safer to call a professional. A slip-up during DIY polishing could leave swirl marks or distortion that costs more to fix than just hiring someone in the first place.
If you’re dealing with a deep gouge, a glass scratch remover probably won’t do the trick. But for surface-level damage, using the right type of product can make a big difference in clarity and appearance.
Restoring your glass is only half the job. Keeping it clear and scratch-free takes a little ongoing care. Here are a few simple habits that can help extend the life of your work and prevent new scratches from forming:
A little preventative care goes a long way. Keeping your glass clean and protected will not only maintain that just-polished clarity but also reduce the need for future scratch removal.
For a deeper look at the best exterior detailing products, don’t miss The only exterior detailing products guide you’ll ever need. It’s your step-by-step roadmap to professional results.