Car Rust Repair: Step by Step Guide
SFP
Reading time: 11 minutes
This guide walks you through the entire process of car rust repair at home. It covers the tools you need, the steps involved, common mistakes to avoid, and how to prevent rust from coming back. Everything here is based on standard DIY bodywork practices and widely accepted methods used by auto hobbyists and entry-level detailers.
If you want the short version, here is the basic process:
This method handles surface rust repair, light scale rust, and small areas anyone can fix during DIY car rust repair or simple rust removal on a car. If your vehicle has holes, severe bubbling, or structural rust, a body shop is the safer choice.
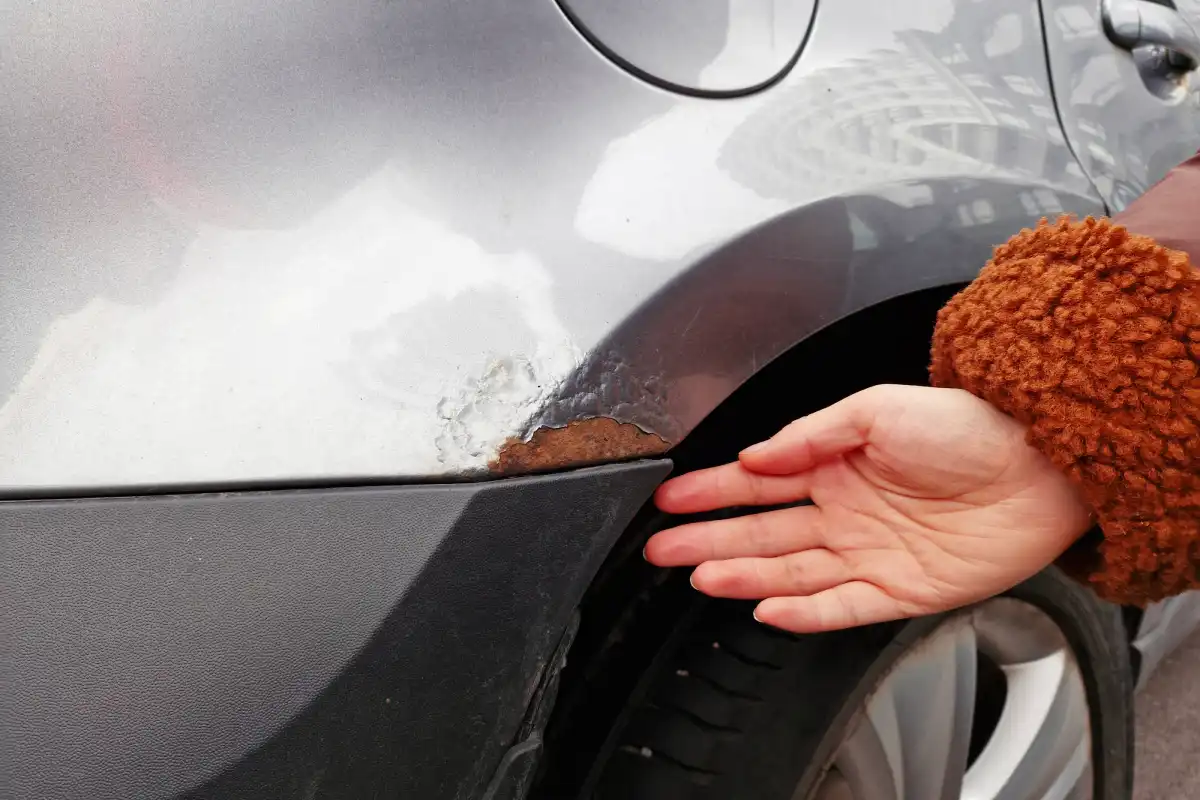
Rust forms when bare metal meets moisture and oxygen. Road salt speeds up the process and so does any damage that exposes the metal under the paint. Most small DIY-friendly rust spots fall into three categories:
You can repair most small spots if the metal is still solid, the rust has not gone through the panel, and the damaged area is not larger than a few inches. This level of damage is common in rust spots on car body panels.

Most small spots are manageable at home, but some types of corrosion require professional attention. DIY products cannot restore structural strength, so avoid home repair if you notice any of the following:
If you see any of these signs, a body shop is the safer choice. They have the tools to diagnose internal damage and restore proper strength.
Once you understand what type of rust you are dealing with, it helps to gather everything you need before you begin.
You can complete DIY car rust repair with a simple collection of tools and products. Here are the essentials:
If you are working outside, try to pick a day with mild temperatures and low wind. This helps with drying and prevents dust from settling on fresh paint during your car rust repair project.
For expert tips on prepping your car’s paint, see Paint Decontamination: Pro Tips.
Both products help deal with corrosion, but they work differently and are used in different situations.
These products dissolve rust through a chemical reaction. They work best on surface rust or light scale rust where the metal is still solid. Removers leave clean bare metal that must be primed immediately to prevent flash rust.
Converters turn remaining rust into a stable, paintable surface. They are useful when small pits or textured areas still show rust after sanding. Converters do not remove rust, but they neutralize what remains.
If you can sand down to shiny metal, use a rust remover or simply continue sanding.
If tiny dark spots remain in pits or seams, use a rust converter to stabilize them before priming.
With your tools ready, you can start the repair process. Work through each step carefully to get a clean and durable finish.
This is the complete walkthrough of how to fix rust on a car, especially helpful for anyone attempting beginner car rust repair. Work slowly and patiently. Good prep work matters more than the paint itself.
Start by washing the rusted panel with automotive soap and water. This removes dirt and road film. Dry the area with a microfiber towel.
Cleaning helps you see the true extent of the damage during DIY rust removal on a car. It also prevents contaminants from becoming trapped under the new paint.
Use 120 grit sandpaper or a sanding disc to remove all visible rust. Sand until you reach clean, shiny metal. If rust remains in small pits, continue sanding or move to 220 grit to refine the surface.
If the rust does not sand away completely, you can apply a rust remover or rust converter. These products neutralize remaining corrosion. Follow the instructions on the label and allow it to dry fully before moving on.
You want the repaired area to blend smoothly. Use 220 grit or 400 grit sandpaper to feather the edges around the repair. The goal is to transition the paint gradually so you do not see a harsh line after painting.
Wipe the area clean with a damp cloth and let it dry.
Use painter’s tape to mask a few inches beyond the sanded area. Cover nearby panels with paper or plastic so overspray does not settle on the car.
Masking is one of the most important steps in car rust repair at home. A clean edge and proper protection make the final result look professional.
Shake the primer can for at least one minute. Hold it about eight to ten inches from the surface and spray light, even coats. Heavy coats can run and cause texture issues.
Two to three thin coats usually work well. Allow each layer to dry according to the product instructions. When dry, lightly sand with 400 grit paper to smooth the primer.
Spray the color coat in the same way you applied the primer. Keep the can moving and apply thin, overlapping passes. Most repairs require three to five coats for full coverage.
Allow proper drying time between coats. Do not touch the paint until it has fully tacked.
Clear coat protects the color and gives it a natural gloss. Spray two to three thin coats and allow each to dry completely. Clear coat tends to run easily, so lighter is better.
Once the clear coat dries completely, remove the masking tape at a shallow angle to avoid peeling fresh paint.
Dry times vary by product, but here are general guidelines that apply to most automotive primers and paints. Always check the label on the specific products you are using.
Most self etching primers need 10 to 20 minutes between coats. Allow at least 30 minutes before lightly sanding the final coat.
Spray thin layers and allow 10 to 15 minutes between coats. If the paint looks glossy or wet, give it more time. You should only apply the next coat once the surface has a light matte appearance.
Clear coat flashes quickly. Wait 5 to 10 minutes between passes and apply two or three thin layers. Avoid heavy coats because they can sag or trap moisture.
Most repairs are dry to the touch within a few hours, but full curing can take 24 hours or longer depending on temperature and humidity.
Following proper timing helps avoid runs, texture issues, and premature failure.
These steps are not required for a basic repair, but they can significantly improve the final appearance.
Most DIY car rust repair jobs take between four and eight hours of combined work, plus drying time. Primer and paint often need several hours to cure. Some people wait overnight before washing or waxing the repaired area.
DIY rust repair typically costs:
A body shop usually charges 150 to 400 dollars for small rust repair. Severe rust costs more because it may require cutting out metal or repainting large panels. This is especially true for extensive rust removal on cars.

Many DIY car rust repair attempts fail not because of bad paint, but because of prep work errors. Here are the most common issues to avoid:
Quality prep and patient layering are the best ways to get long lasting results in any car rust repair job.
You can extend the life of your repair with a few simple habits:
Consistent maintenance slows oxidation and protects the metal beneath your paint, helping prevent future rust spots on car body panels.
For a broader overview of how rust forms and spreads across exterior surfaces, see the pillar article Car Surface Damage: Complete Guide.
Yes, you can repair rust on a car, but the approach depends on how deep the corrosion goes. Light surface rust is usually manageable with basic DIY tools, while severe or structural rust often requires a professional who can cut out and weld new metal.
Yes, you can stop rust once it begins, but the level of effort and the technique you use depend on how far the corrosion has progressed.
To stop rust permanently, you need to remove all existing corrosion and then protect the bare metal with primer, paint, and a clear coat that blocks moisture and oxygen.